Edge detection is an important problem in computer vision. One good way to solve this problem is to use gradient filters convolved over an image. To achieve edges in this part, I convolved an image with a derivative filter in the x and y direction, then combined the magnitude of each to get the gradient magnitude image. Binarizing this resulted in the image with only edges.
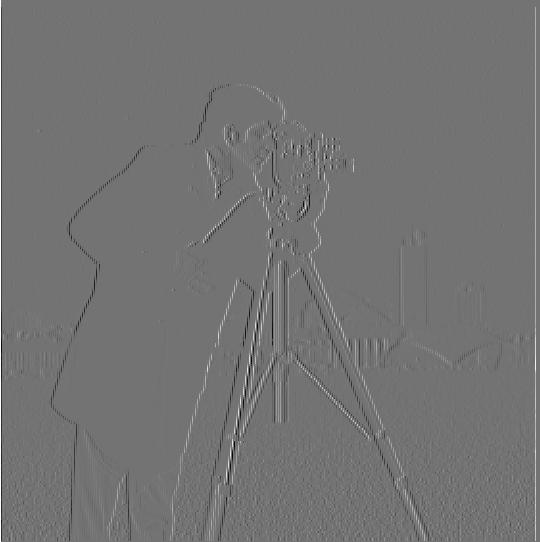
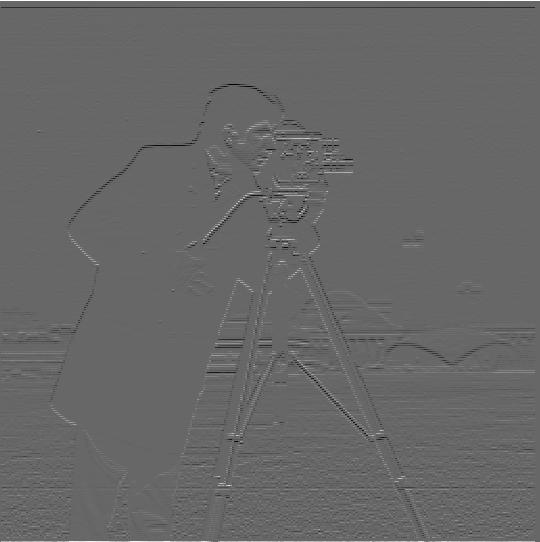
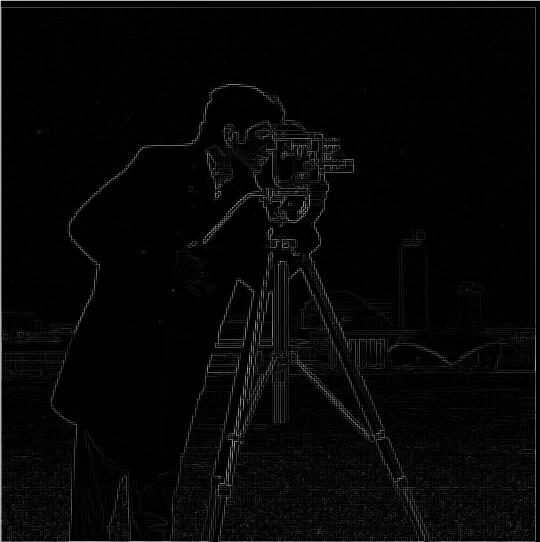
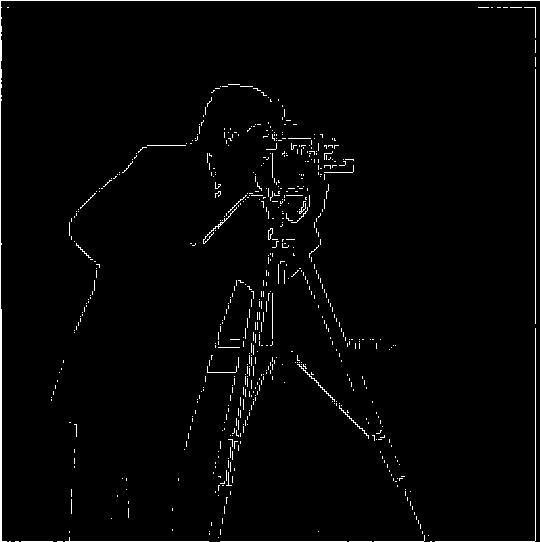
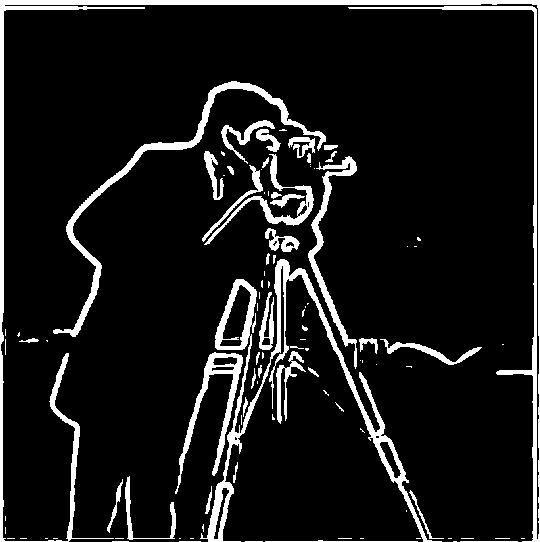
Differences: the gaussian version of edge detection resulted in both more prominant and thicker edges. It's easier to make out the shapes in the image.


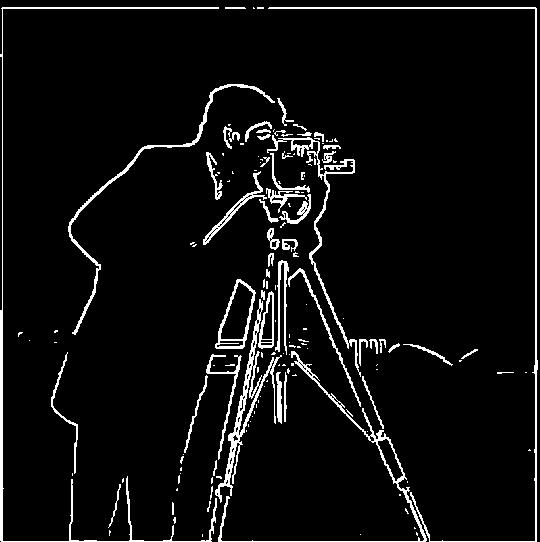
This image looks almost identical to the previous gaussian edge image, but the edges are slightly smaller, which could be a result of the chosen threshold or parameters.
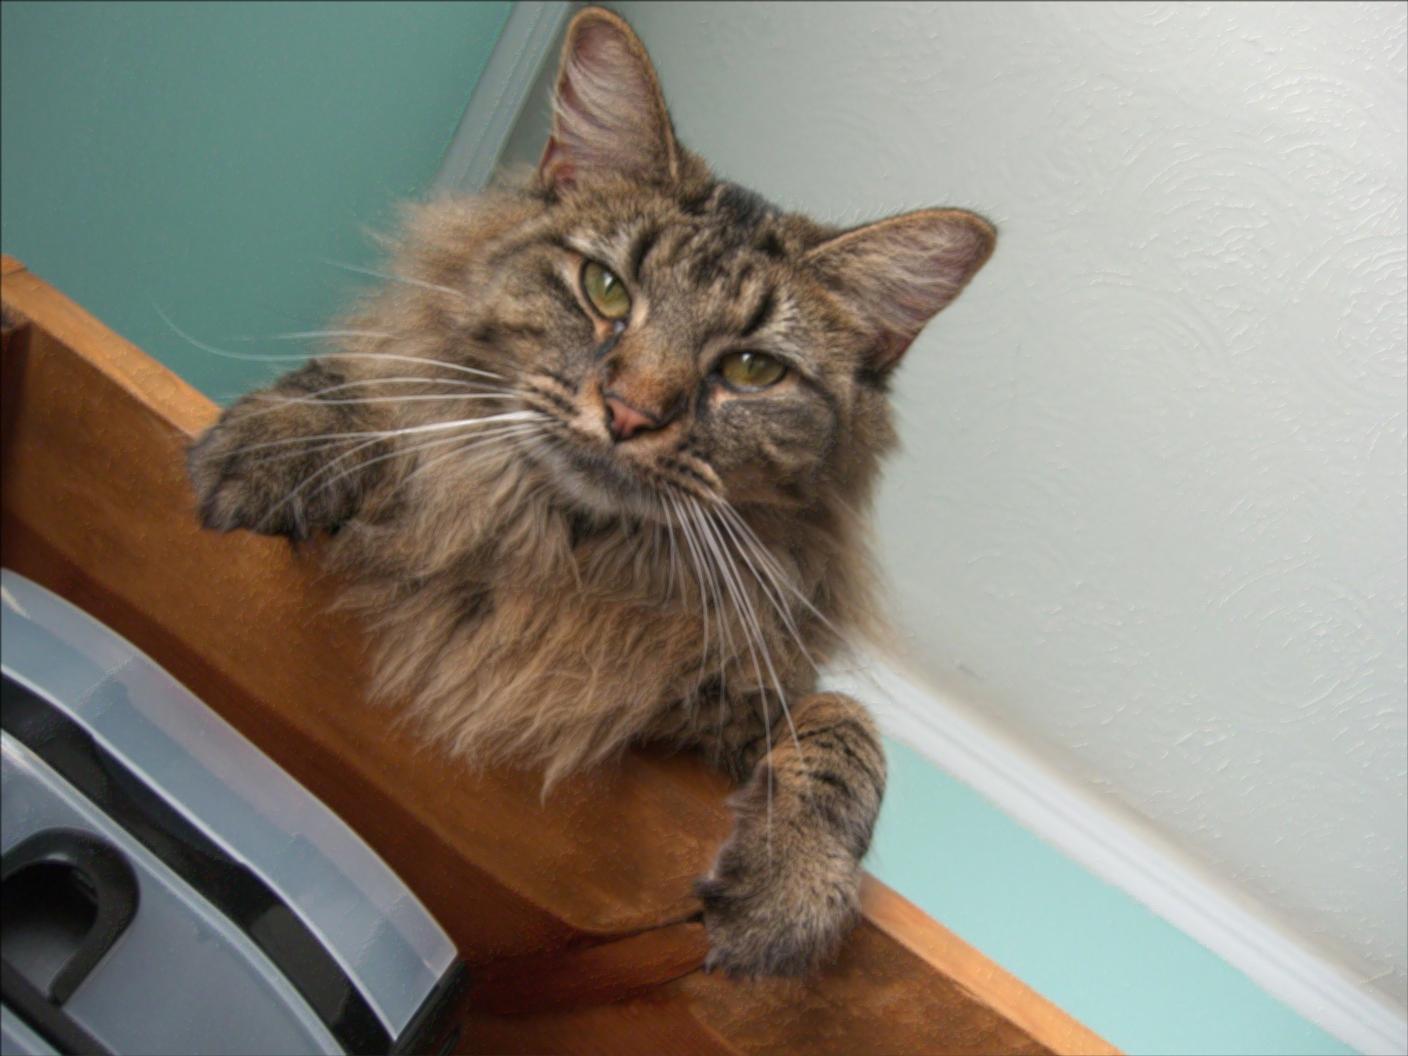
For this section I created a lowpass-filtered version of the original image, then subracted that from the original image to obtain the high frequencies. Then I added the high frequencies to the original image by some constant to get the sharpened image.
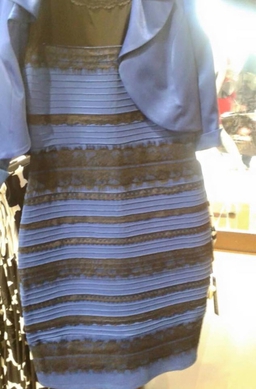


For this section I first aligned the images by picking two points on each image. Then I filtered out the high frequencies out of one image and the low frequencies out of the other and then added the results to obtain the hybrid image.
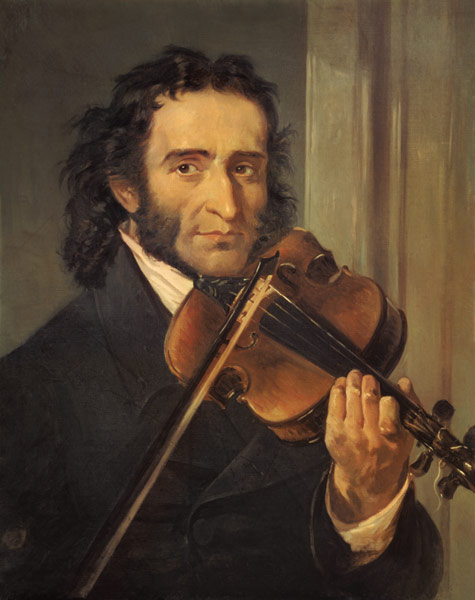
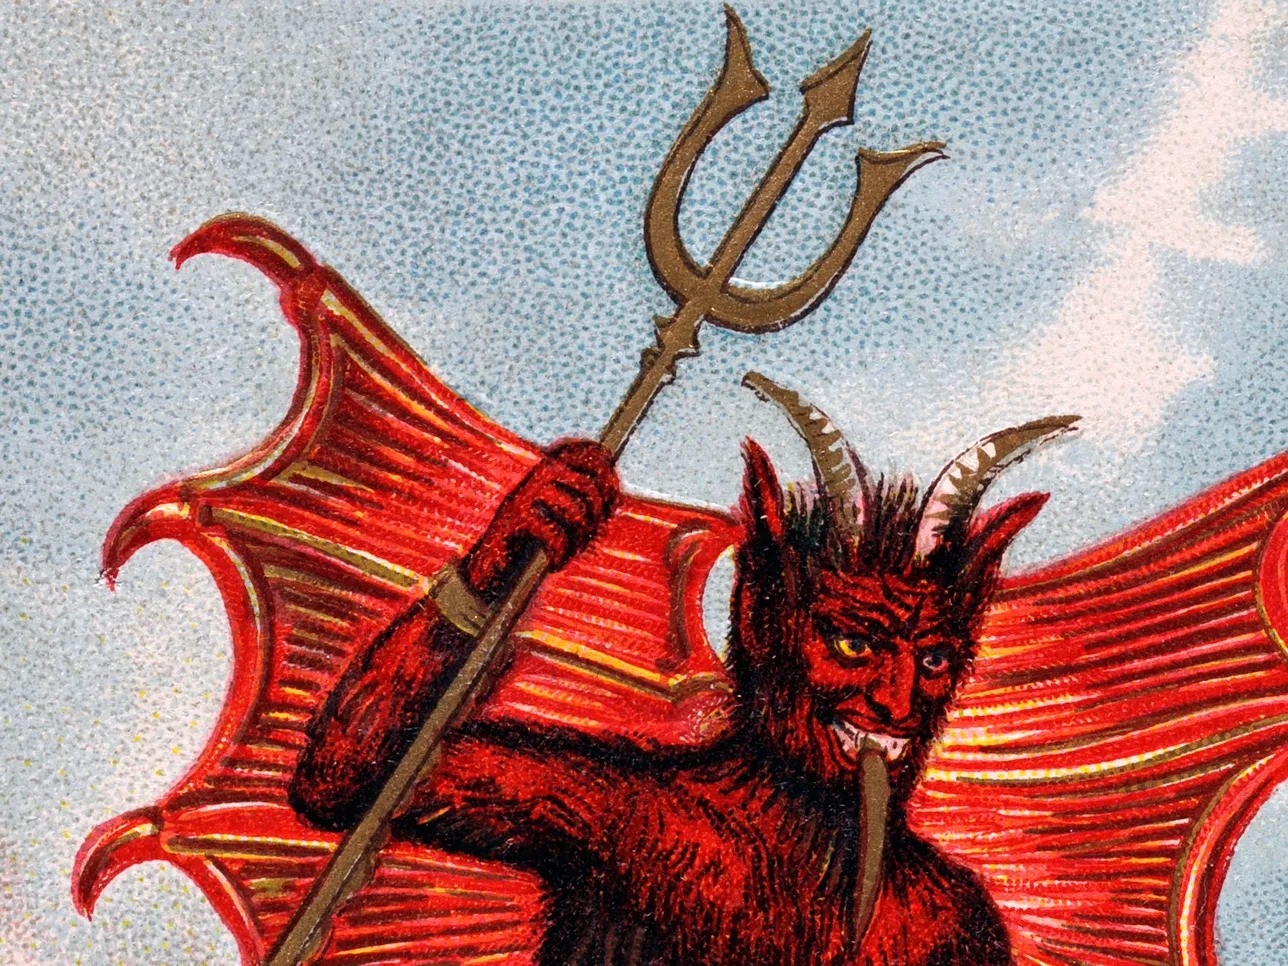
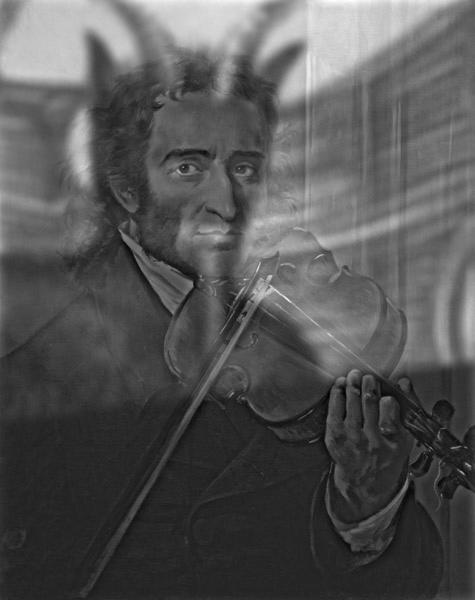
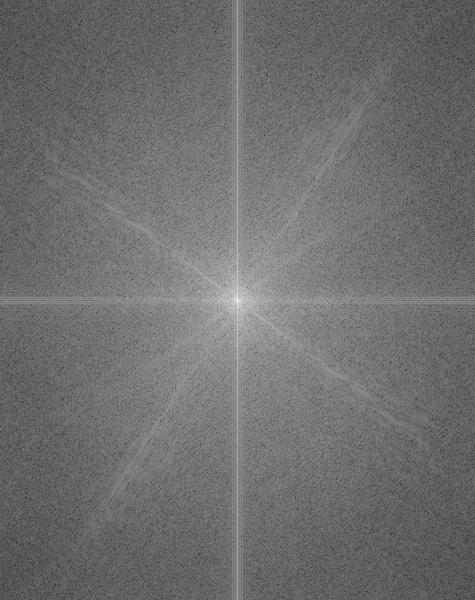
Frequency analysis: it seems that a lot of the frequencies were captured more by the Paganini picture. For instance, the horizontal and vertical lines show prominantly in the frequency domain as well as the slanted lines corresponding to the bow. The devil picture is more spread out with it's frequencies.


This hybrid did not work as well because there isn't as much detail in the low-frequency image. That makes it easier to make out that there is a happy face underneath.
In this section I created a gaussian and laplacian stack. The gaussian stack consecutively blurs an image through a specified number of levels. The laplacian stack takes the difference between levels in the gaussian stack with the last level being the last level of the gaussian stack.


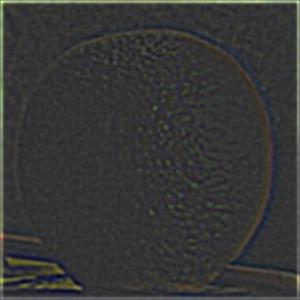
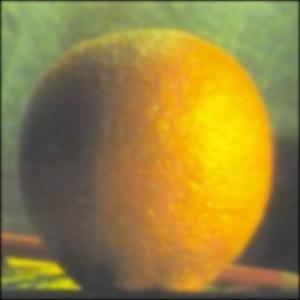
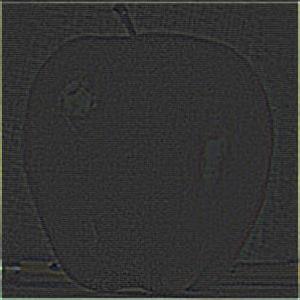
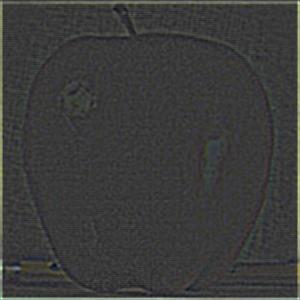
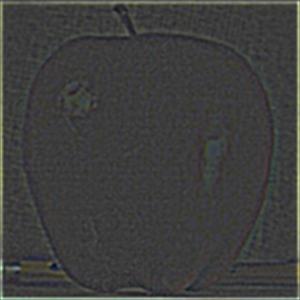
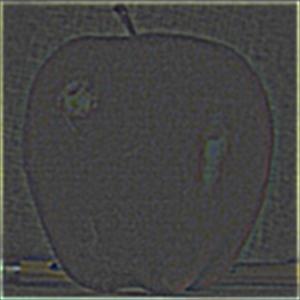
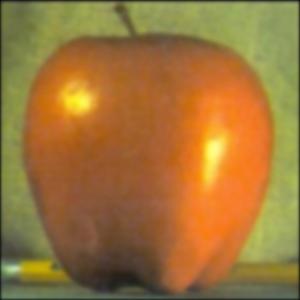
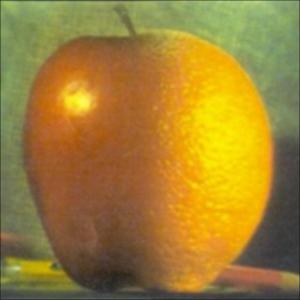
In this section I created a mask and then used a laplacian stack on both images. Then I collapsed the stack and combined the images based on the mask.

This one uses an irregular mask, but blending the lava into the water does not look very convincing.